Analog Archive Blog
Digital to Analog Recording: How Modern Files Get Printed to VHS and Cassette
A practical guide to recording digital source files onto high-quality blank VHS and cassette media without compromising stability.
Key Points
- Digital-to-analog work is a production workflow, not just a connector trick.
- Runtime planning, levels, aspect ratio, and tape length all need to be decided before record passes begin.
- The best layback projects keep the digital source master alongside the finished tape copy.
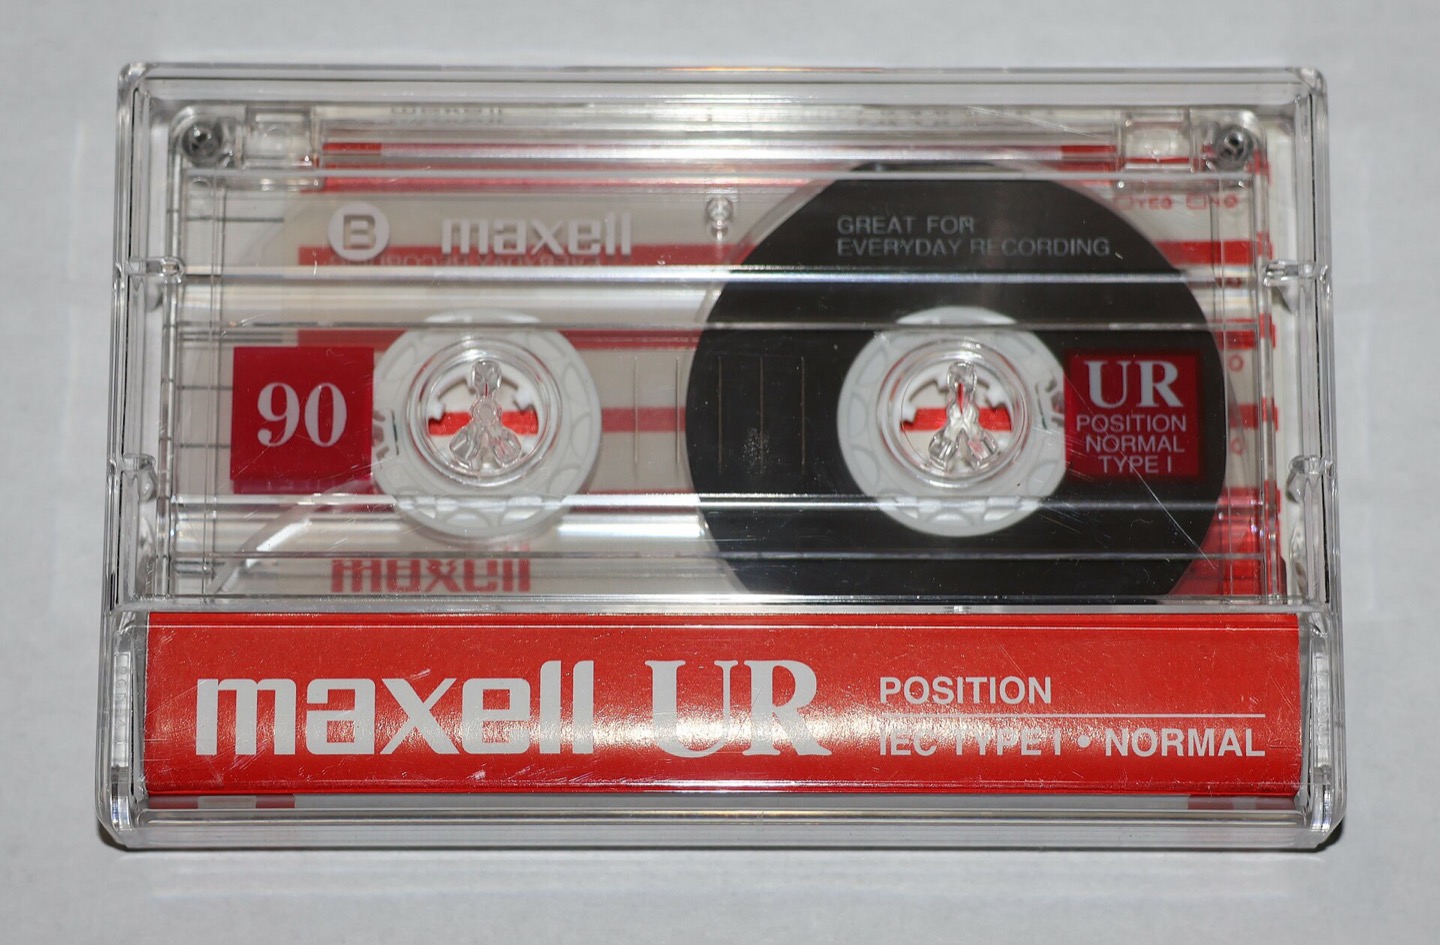
Why reverse conversion is useful
Digital-to-analog recording is the inverse of tape digitization: instead of extracting a signal from legacy media, the workflow records curated digital masters onto fresh analog stock. Clients use it for gifts, release editions, gallery playback, installation work, and cases where the tape itself is part of the experience rather than just a novelty container.
The useful mindset is to treat it as mastering for a target medium. Cassette and VHS each impose runtime, level, and presentation limits. If the source is prepared with those limits in mind, the finished tape feels intentional. If not, the result often feels like an unstable dub rather than a deliberate production.
Source prep matters before the deck ever goes into record
A reliable layback starts with source planning. Audio projects need side-length decisions, sequence choices, and sensible level targets. Video projects need stable frame cadence, correct aspect ratio assumptions, and a plan for how titles, black leader, or transitions should behave on tape. None of that can be improvised well in the middle of a record pass.
This is also where approval questions should be resolved. If the project depends on a specific running order, side break, or video standard expectation, those details should be settled up front instead of guessed after the tape has been made.
- Confirm total runtime against the tape length you actually plan to use.
- Decide whether the tape is meant to be a one-off object, a small edition, or a reference copy.
- Keep a digital safety copy of the approved source so the tape can be recreated later if needed.
Record passes still need monitoring and quality control
Once the record pass starts, the same discipline that matters in transfer work still applies. Levels need to be watched in real time, tape behavior needs to be monitored, and the result needs a post-pass review rather than an assumption that everything recorded perfectly the first time.
For cassette, this can mean checking for overload, side break consistency, and expected playback balance. For VHS, it can mean checking sync stability, visible timing issues, and how the recording behaves on intended playback hardware. The tape copy should be judged as a finished object, not as a theoretical output.
Keep the analog object and the digital reference together
The most robust delivery model includes both the new analog tape and the retained digital master that was used to create it. That makes future replacements, revisions, or additional copies straightforward and keeps the project from becoming dependent on a single physical object.
For collectors and artists, this combination respects both sides of the workflow. The tape retains its material and presentation value, while the digital master preserves precision, repeatability, and long-term flexibility.